

Approval – Step-by-Step User Guide
This section explains how managers or approvers review and approve access requests in Anugal.
Step 1: Receive Approval Notification
When access is requested, you will receive:
- An email notification
Step 2: Log in to Anugal
- Sign in using your credentials or the Authenticator.
- You will be redirected to the Anugal home page.
Step 3: Open Approval
Go to the Approval icon from the menu bar on the home screen.
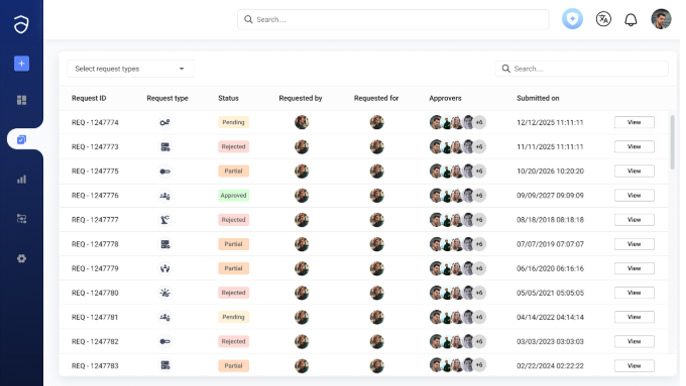
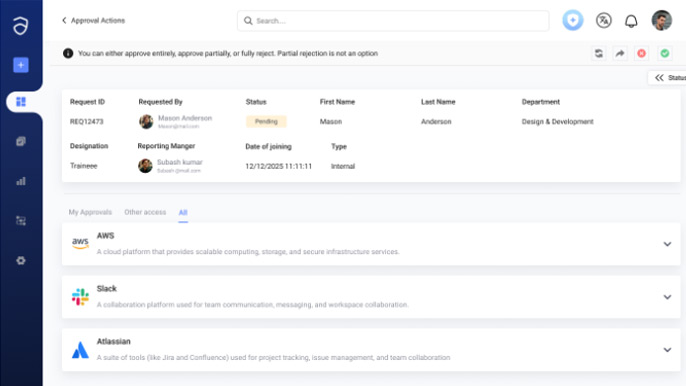
Step 4: Review the Request Details and Risk Information
Check if:
- The request violates any policy
- There is a SoD conflict
- Mitigation is required
Step 5: Approve or Reject
Choose an action:
- Approve → Access request continues
- Reject → Request is denied
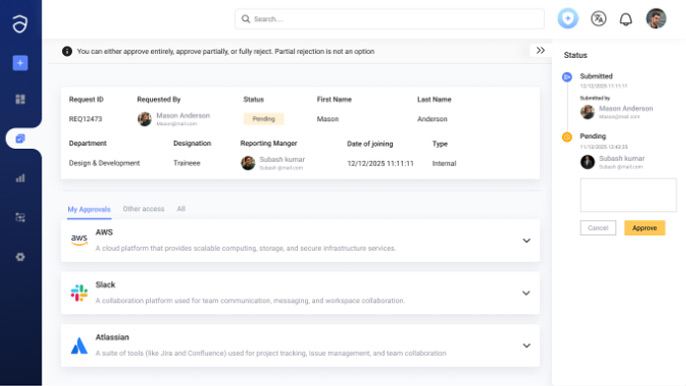
Step 6: Consent and Recording
Your approval decision is:
- Recorded for audit
- Time-stamped
- Linked to your user ID
Step 7: Provisioning Triggered
Once approved:
- Access is automatically provisioned by Anugal in the requested system.
Step 8: Status Notification
The requester is informed through email notification.